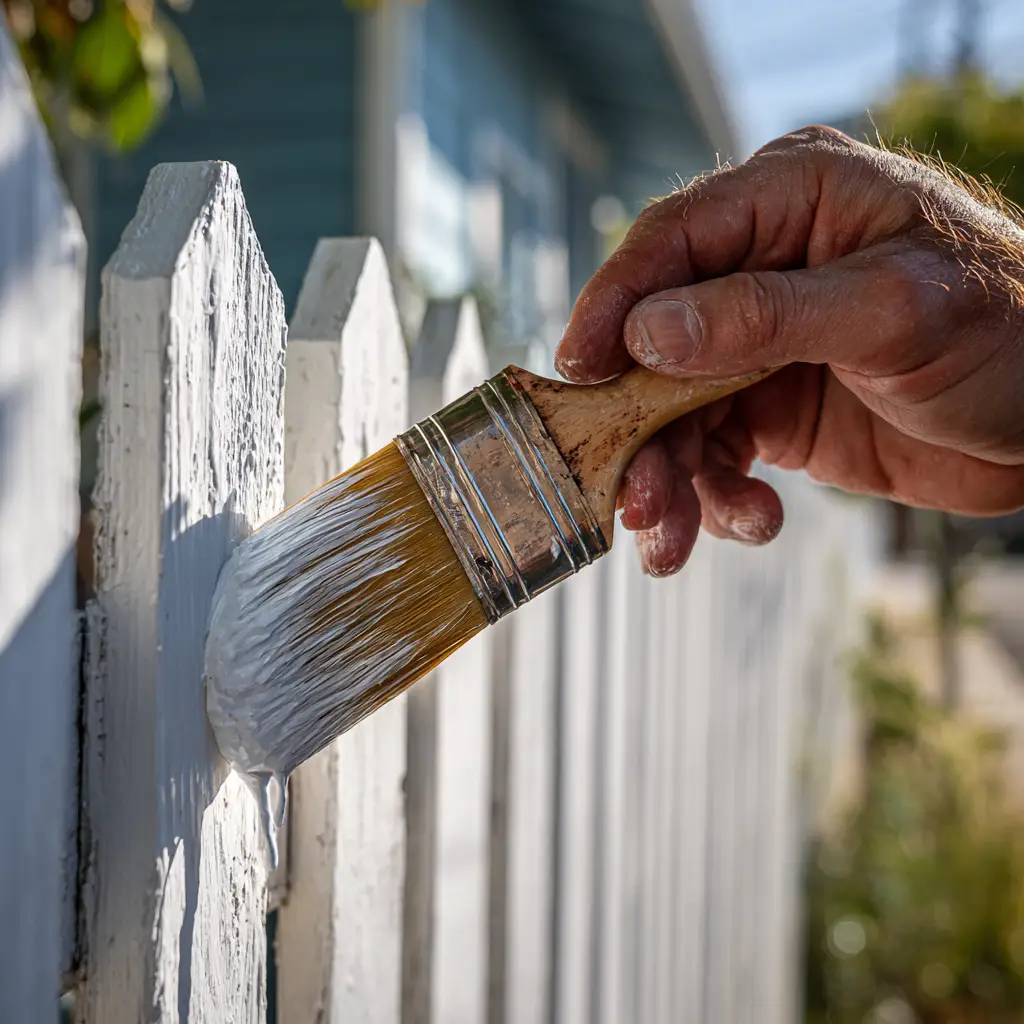
Protect your fence from coastal moisture & rust — expert methods for a long-lasting finish.
Is your wrought iron fence starting to show its age, with patches of rust breaking through a faded finish? In Nanaimo's unique coastal climate, this isn't just a cosmetic issue—it's a call to action to protect your property's security and curb appeal. Fortunately, giving your fence a long-lasting, professional-quality finish is a manageable DIY project if you follow a process tailored to our local weather conditions. This guide covers everything you need to know, from choosing the best rust-resistant paint to mastering the perfect application technique.
Before you buy a single brush, it's crucial to understand the environment your fence lives in. Nanaimo's climate presents two major challenges for wrought iron: relentless moisture and temperature swings.
With an average annual rainfall of roughly 1,744 mm, Nanaimo is one of Canada's wetter cities. This constant exposure to moisture is the primary cause of rust, which can quickly compromise your fence's structural integrity if left unchecked. For this reason, any successful painting project must use high-quality, rust-inhibiting products specifically designed to create an impermeable barrier against water.
Temperature is just as critical as moisture. The ideal conditions for painting are a warm, dry day with low humidity. Your window of opportunity in Nanaimo is typically during the summer months, when average high temperatures reach a comfortable 22°C (about 72°F). The best strategy is to plan your project for the dryest and warmest period, typically from late June through early September.
Picking the right paint is the single most important decision you'll make. Using the wrong type will lead to premature peeling and rust, forcing you to redo the entire job in just a year or two.
For exterior wrought iron, oil-based enamel paint is the undisputed gold standard. Its superior adhesion and hard, protective surface are unmatched in their ability to stand up to moisture and UV rays for years. This makes it the ideal choice for the challenging weather conditions across Vancouver Island.
While oil-based enamel is the top recommendation, other reliable options exist. Acrylic latex paints are durable, easier to clean up with soap and water, and produce less odor, making them a good choice for some DIYers. However, for maximum longevity in a wet climate, an oil-based formulation is often worth the extra effort.
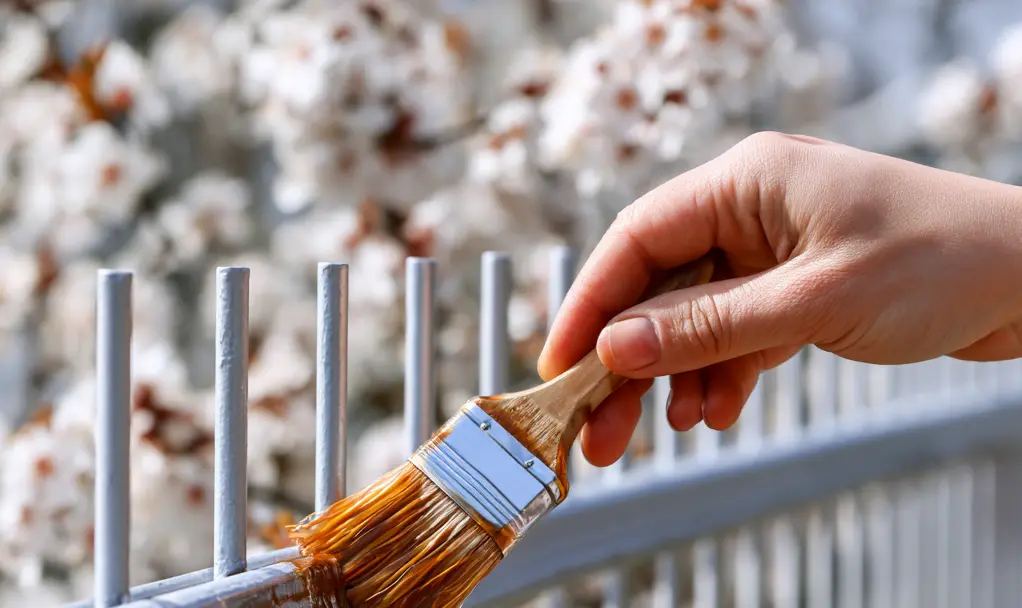
Gathering the right supplies beforehand will make the process smoother and more efficient.
A durable, professional-looking finish is 90% preparation. Follow these steps carefully to ensure your hard work lasts for years.
Start by clearing any vegetation away from the fence. Lay down a drop cloth to protect your lawn or paving stones from paint drips. Then, use a garden hose and a mild detergent solution to thoroughly wash the fence, removing all dirt, grime, and mildew.
This is the most labor-intensive but critical step. Use your paint scraper to remove any loose, flaking paint. Then, attack the rust with your wire brush. For heavy rust, a drill with a wire wheel attachment can save significant time and effort. After scrubbing, sand the entire fence to create a smooth surface for the new paint to adhere to.
If your fence has persistent rust that you can't completely remove, use a rust converter. This chemical product transforms rust into a stable, black, primed surface, saving you time and creating a solid foundation for your topcoat. Allow the converter to dry according to the manufacturer's instructions.
Do not skip the primer. A high-quality, rust-inhibiting metal primer is essential for blocking moisture and ensuring your topcoat adheres perfectly. Apply a thin, even coat, paying extra attention to nooks and crannies, and allow it to dry completely (usually 2–4 hours) before painting.
Apply your first thin coat of top-quality, exterior-grade paint. Thin coats are key to preventing drips and runs, and they cure into a much harder, more durable film. Let the first coat dry for the time recommended by the manufacturer (often 24 hours), then apply your second thin coat for full, even coverage and maximum protection.
This is a common debate, and the best method depends on your fence's design and your personal preference.
Patience is a virtue when painting wrought iron. Rushing the drying process is the fastest way to ruin a paint job.
After applying your primer, wait the recommended 2–4 hours before painting. After each coat of paint, it's best to wait a full 24 hours before applying the next or subjecting the fence to any contact. This allows each layer to cure properly, creating a tough, unified shell against the elements. Remember to always follow the specific drying times listed on your paint can, as they can vary between brands.
While color is a matter of personal taste, some choices are more practical than others.
Congratulations, your fence looks brand new! To protect your investment, plan for regular, low-effort maintenance.
Inspect your fence at least once a year, ideally in the spring. Look for any small chips, scratches, or signs of rust. Touch up these minor flaws immediately with a small brush and your leftover paint to prevent them from becoming major problems. For a fence in good condition, a simple wash with soapy water is all it needs to keep it looking its best for years to come.
Painting your wrought iron fence is a highly rewarding project that dramatically boosts your property's curb appeal and protects it from Nanaimo's wet climate. By following the steps in this guide—from choosing the right oil-based enamel and doing meticulous prep work to respecting drying times—you can achieve a beautiful, weather-resistant finish that will last for years. If you ever feel the project is too big to tackle alone, remember there are many skilled local painting and fencing contractors in the Nanaimo area ready to help.
For lasting protection, especially in outdoor conditions, oil-based enamel paint is widely considered the gold standard due to its superior adhesion and hard, weather-resistant finish. High-quality acrylic latex paints are a good, durable alternative that offers easier cleanup and lower odor. For a premium result, top contractors often recommend Rust-Oleum Stops Rust protective enamel, which provides excellent corrosion resistance